Windows 10 has a caring feature named color filters, which could make it easier for people with light sensitivity or color blindness. Once you’ve completed the steps below, the filter will apply to your device automatically to help you see elements on the screen more clearly.
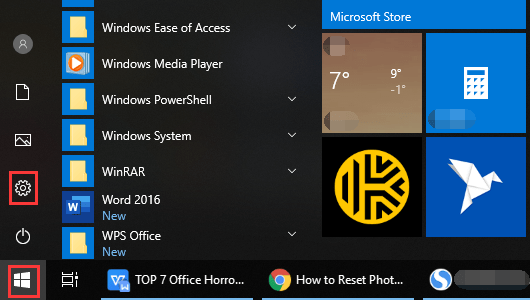
1. Click Start icon at the bottom left of the screen, next click Settings icon in the pop-up window.

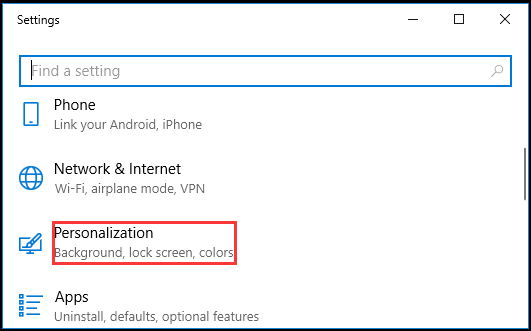
2. The Windows Settings dialog box will display, scroll down and click Personalization button.

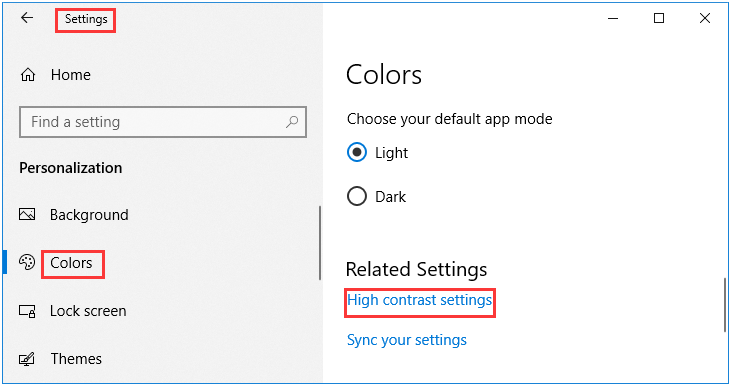
3. Another window of Setting appears, click Colors in the left pane, then go to the right pane, scroll down and select High contrast settings, which is under Related Settings group.

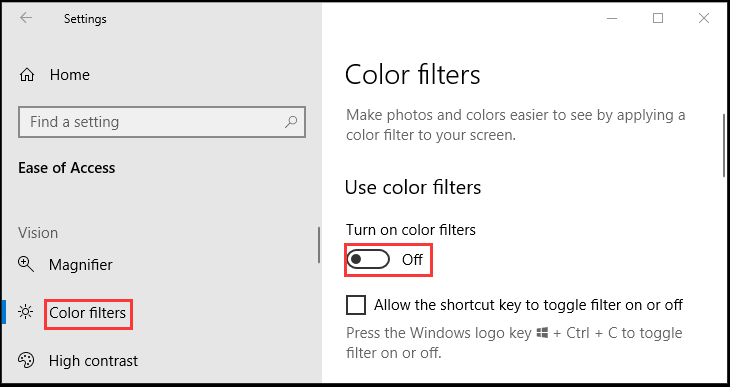
4. After page forwarding, scroll down again and hit Color filters in the left pane, then go to the right pane, turn on the switch under Use color filters.

5. Now you could select a color filters to see elements on the screen better or select a colorblindness filter to make the nine color on the wheel more distinct. Simply try each option to to see which one suits you best.
Note: at any time, you can use keyboard shortcuts [Win] + [Ctrl] + [C] to toggle filter on or off in Windows 10 on demand without having to open Settings app.


use color filters in windows 10 site:microsoft.com