You might already learn how to add desktop icons on Windows 10 computer, but actually you can also change them if you dislike the default ones. In this post, let’s take a look at the method Windows lets you change the icon, and here I will take This PC as example:
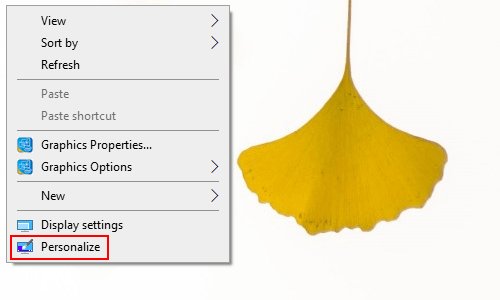
1. Right-click on a blank space on the Desktop and select Personalize from the menu.
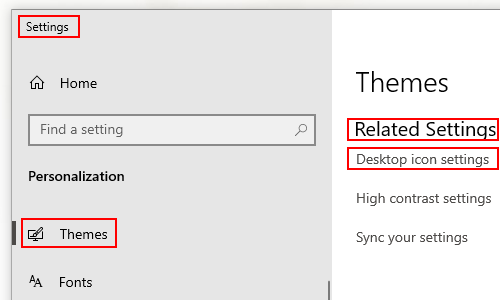
2. The Settings dialog box will display, scroll down and select Theme in the left pane. Find Related Settings group and click Desktop icon settings in the right pane.
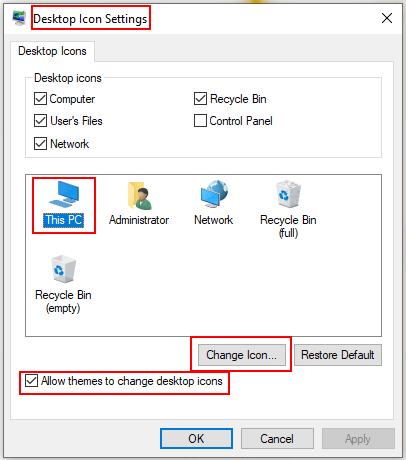
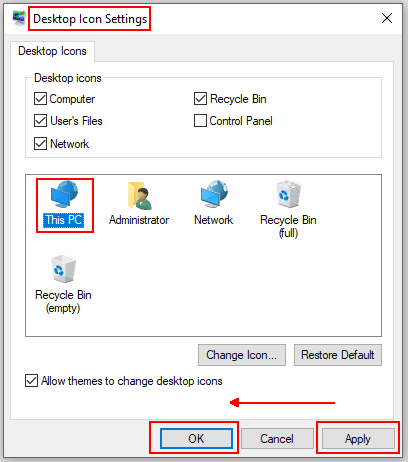
3. The Desktop Icon Settings window pops up, check the box of Allow themes to change desktop icons. Select the desktop icon which you want to change, then click Change Icon.
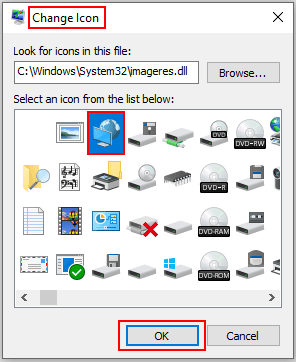
4. The Change Icon dialog box appears, select an icon you prefer from the list, then click OK to save the settings.
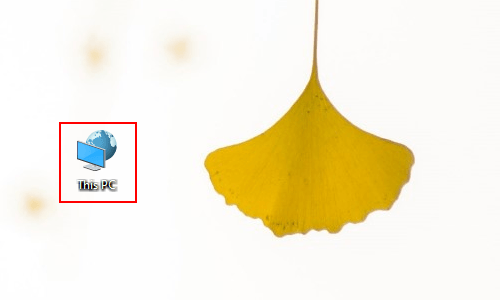
5. It will go back to Desktop Icon Settings dialog box automatically, and you might notice that the icon of This PC has been changed accordingly as below. Next click Apply and OK, now you can find the icon in the desktop is the same as you chose.

[…] 11. How to Change Desktop Icon in Windows 10 – My Microsoft … […]
[…] 11. How to Change Desktop Icon in Windows 10 – My Microsoft … […]