If you need an alarm clock to remind you of the time to work or rest, your phone isn’t the only option. There’s also a built-in Alarms & Clock feature in Windows 10. Just like the alarm on your phone, you can set its time, frequency, sound, etc. as you like.
So, how to enable and use the alarm in Windows 10?
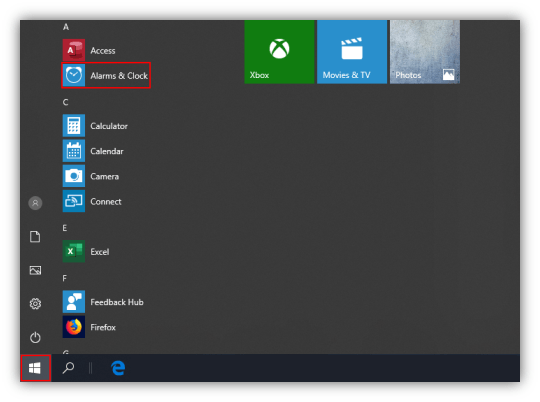
1. First of all, you should find Alarms & Clock on your computer. Normally it’s under the A category of Start menu.
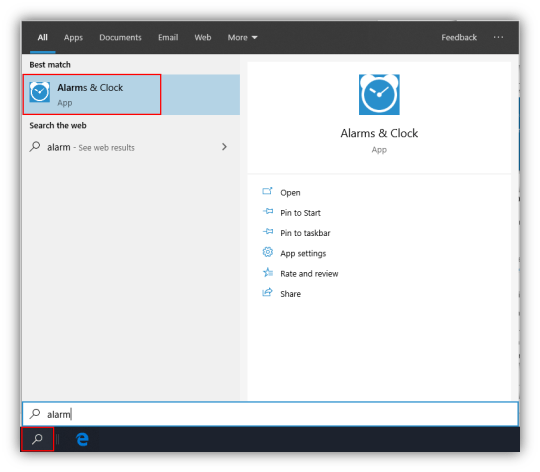
You can also click the magnifying glass icon at the bottom-left corner (or in Cortana) and type “alarm” in the search box, the Alarms & Clock will show under Best match.
Click Open on the right or press [Enter] to directly open the app, or you choose Pin to Start or Pin to taskbar if you need to use it frequently.
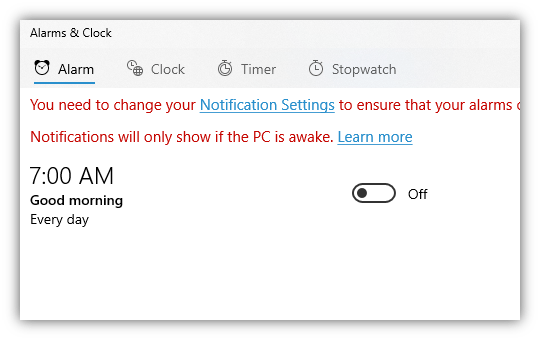
2. If you haven’t turn on the notifications, there will be a red prompt asking you to change the Notification Settings at first.
You can click it to go to Notifications & actions tab in System settings.
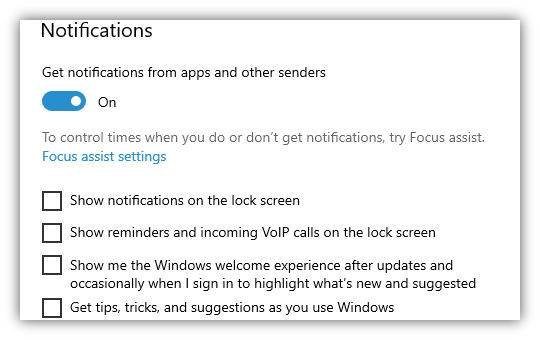
3. Turn On the option of Get notifications from apps and other senders. Then you can switch back to Alarms & Clock and continue the setting.
4. Click the existing alarm to edit it or hit + button to create a new alarm.
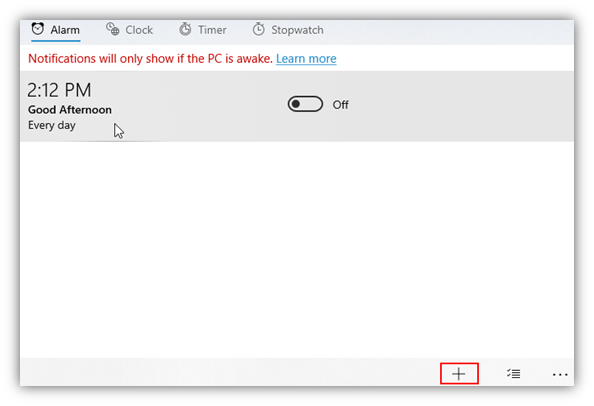
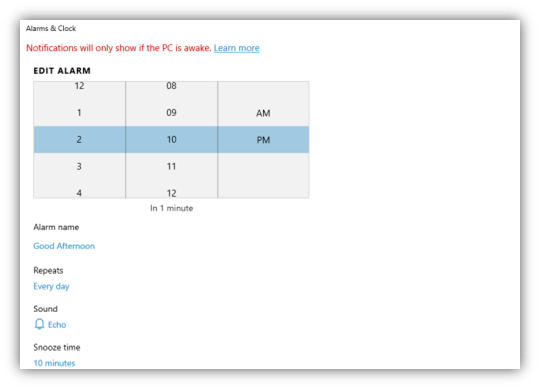
5. Then you can edit the alarm’s time, name, frequency, sound and snooze time specifically.
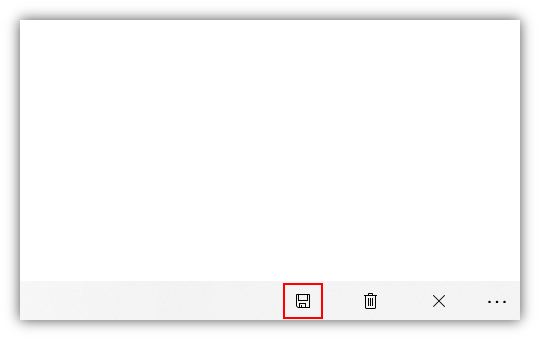
6. Click Save button to save this alarm, or you can Delete it, or cancel the setting as well.
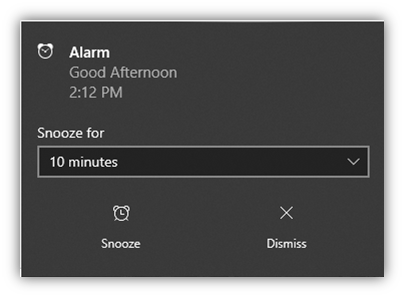
7. After saving an alarm, it will go off with the selected sound automatically when the setting time comes. You can either Snooze for a while or click Dismiss to stop the alarm.

Opening “Alarms & Clock” provides only a large blue window with the app’s icon in the middle. There is no response when clicking on any part of that window or icon. I can neither reset, uninstall nor “terminate” the app. It is, sans hyperbole, in every literal sense, useless. Even more than useless since I cannot even get rid of it.