

Double Exposure is a photographic technique which combine two exposures to make one single photo. Nowadays, this effect could be achieved with a DSLR camera, but what if you want to make this kind of photo with saved images? Actually it is possible to get the photographic technique when working with PowerPoint.
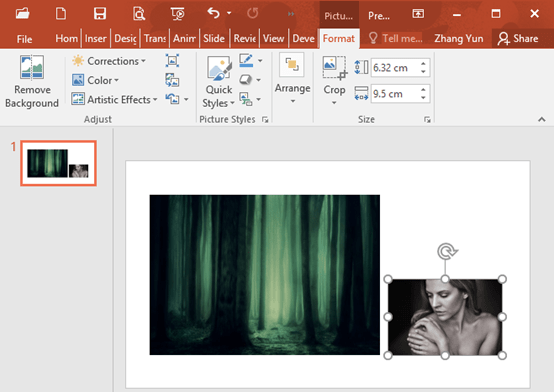
1. Insert the background photo and people picture in one single slide.
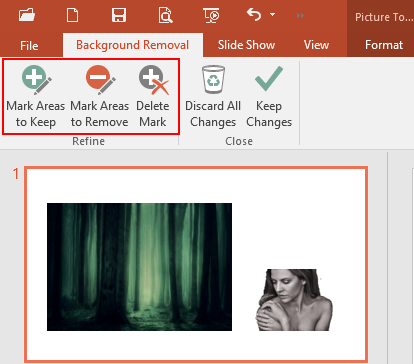
2. Select the people picture, go to Format tab and click Remove Background. Adjust the purple area which need to be removed in the photo by using the buttons in Refine group cooperatively. Click Keep Changes then the background of it has been cleared.


4. Move character onto the background photo, go to Insert tab, click Shapes and pick
rectangle in the drop-down list. Then resize the rectangle to match the character.


5. Right-click the character, choose Send to Back and click Send Backward in the popups.

6. Go to Format tab, click Shape Outline and select No Outline.

7. Select the character, right-click and choose cut, then right-click again and choose Size and Position. The Format Shape dialog box will display.

8. Click Fill, choose Picture or texture fill and hit Clipboard button. Then you could set values of Transparency according to actual requirements.

9. Now we have a look at the final result.


